

Installation Guide
 TIP: do visit the FAQ's!
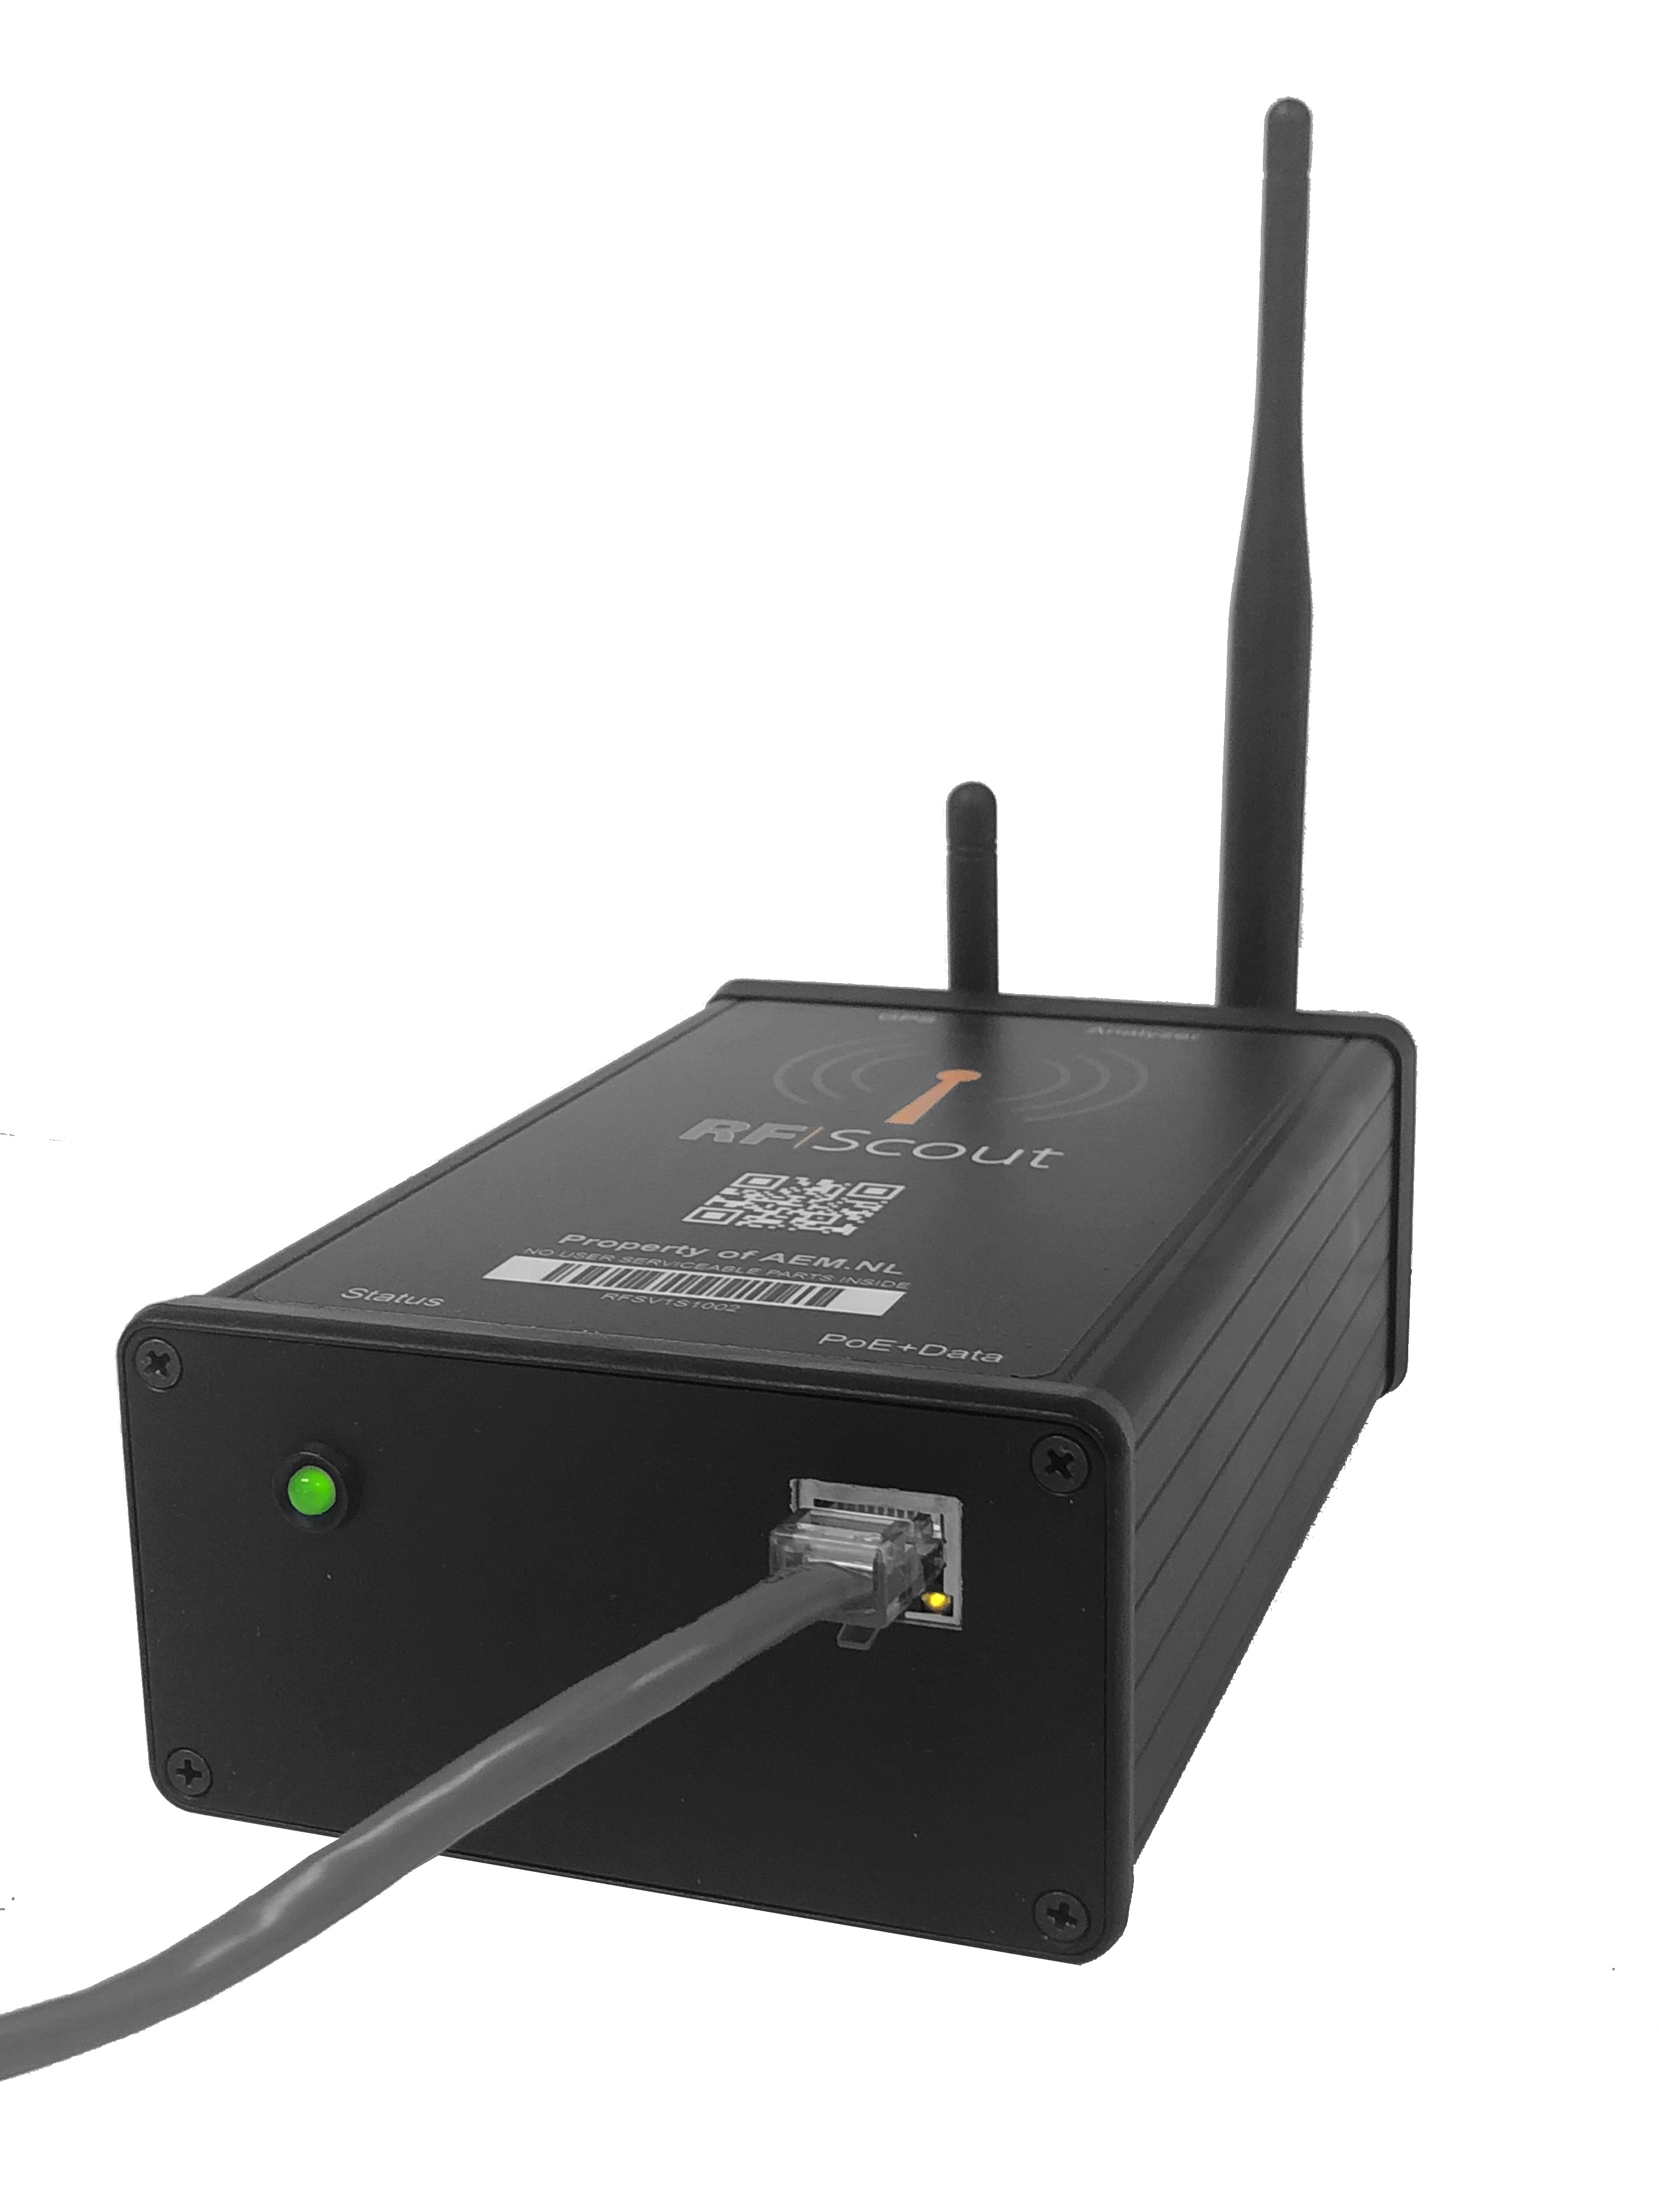
The RF|Scout solution is based on the RFS-Node, a little "shoebox" frequency sniffer which is placed at the venue. The idea is that the Node sees the same free or occupied spectrum as the antenna of your wireless product does.
- Mount the supplied antennae (the short one on "GPS", the long one on the "Analyser" SMA connector.
- Connect the PoE (PowerOverEthernet) Data connector of the RFS-Node to a compatible PoE Switch (802.3af). Should there be no PoE avaiable, than you can always use a proper low cost PoE injector. We also stock them, so you add it to your order, but they are widely available.
If the RFS-Node recieves the proper suppl , the LED directly next to the DATA connector will lit Yellow. - RFS-Node will automatically search for connection to the RF|Scout server, which usually takes about 30 or 40 seconds. If RF|Scout has been longer off-line than one hour, he will make a new Bootscan first, in which case it may take 2 or 3 minutes before you can access with your device.
- Status LED •
- LED off : RFscout app has not booted
- LED on : RFscout app has booted
- LED 1x blink: communication with server succesful (every 2,5 sec)
- LED 2x blink: new instrcutions received from server
- LED 3x blink: no communication with server
Positioning the RFS-Node hardware
- The RFS-Node is supposed to be roughly in the area where you will have your wireless system antenna's, while maintaining a distance of at least ca. 6m to transmitters.
TIP: The easiest way to ensure this is to go up in the air with the Node. Be alert to IEM transmitters, they are often left in HiPower settings. The distance is to avoid overloading the input, which will create IM-products and therefor incorrect results. - As an alternative an RFS-Node can be connected to an Antenna Distribution system, which will give you the opportunity to see exactly the same as your wireless receivers do.
WARNING: the input of the RFS-Node is max +20dBm! The input is not protected against stronger signals, that will damage the sensor. To be specific: you can not connect an RFS-Node to an IEM transmitter or -Combiner! - Configuration of the RF|Scout Application
The registered Owner or Admin has received a mail from with a link. By clicking he or she is then hard-linked to that specific RF-Node hardware, and is then able to setup all user accounts.
Managing access rights is based on the following "roles"
View all Markers Manage Private Markers Manage Venue Markers Send out Hotlinks Change Freq Span Manage RFScout Settings Manage Access Rights Legal Contract
partnerOwner √ √ √ √ √ √ √ √ Admin √ √ √ √ √ √ √ Officer √ √ √ √ √ Tech √ √ None Hotlink √ √ * None: know user but currently no rights / access
** Hotlink: temporary access (e.g. guest engineer) for 1-7 days max.
Disclaimer: RF|Scout is in ontwikkeling. AEM behoudt zich het recht voor op ieder moment besproken features of ander aspecten aan RF|Scout te wijzigen, te laten vervallen, uit te stellen, af te splitsen, te verbeteren of uit te breiden :-) Aan deze pagina of andere uitingen rond RF|Scout kunnen geen rechten worden ontleend.